Wolf Range Repair
Make Sure Your Stove Is Ready For the Holidays
November 23, 2019
Show all

Washing Machine Maintenance: Secrets of A Long-Lasting Washe

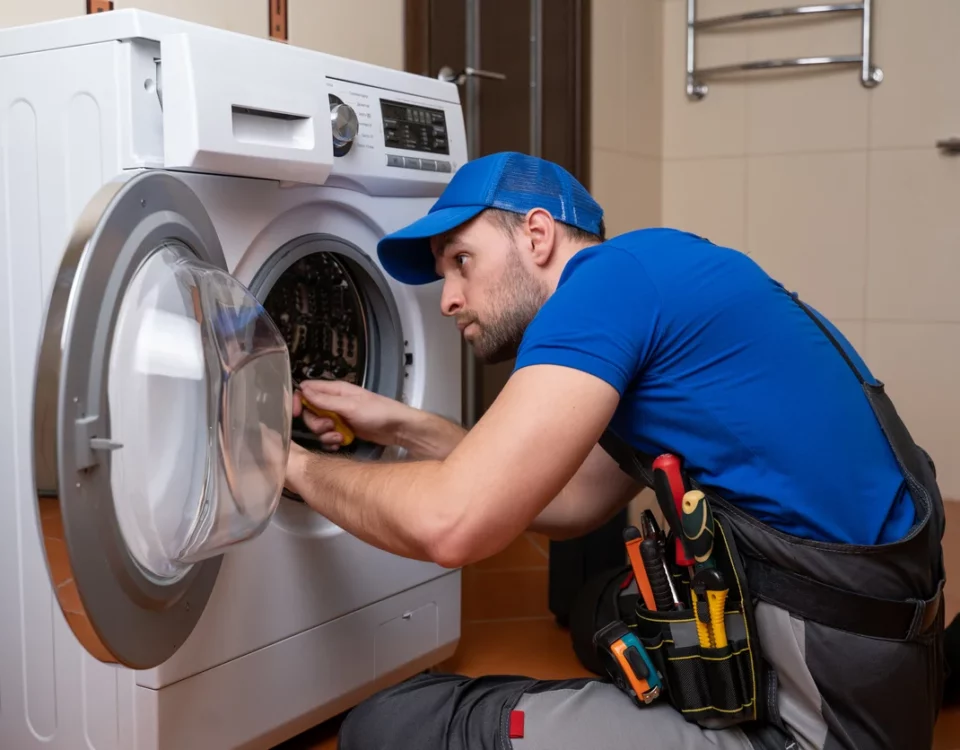
Proper maintenance is key to ensuring a long life for your washing machine. In this guide, you’ll find a step-by-step checklist to help you prolong your washer’s lifespan and keep it running smoothly.

When it comes to washing machines, a lot of people don’t really think about them.

They just use them (day in and day out), and then move on to the next thing.

But they’re such a profoundly important appliance to our everyday lives that even minor breakdowns can quickly turn into major setbacks!

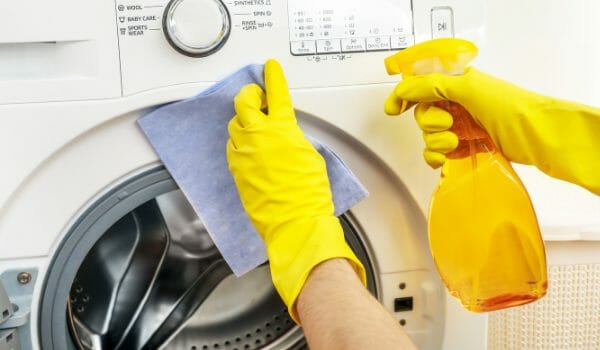
This is why it really pays to do some ‘preventative maintenance’ on your washing machine—to keep it running in tip-top shape, to avoid potential breakdowns (or to at least extend the lifespan of your appliance as long as possible).


Neglecting regular care can lead to malfunctions and costly repairs. It could even force you to fork out relatively large sums of money for a new unit ahead of schedule (and nobody wants to do that, right?).

So in this comprehensive guide, we’re going to provide you with a step-by-step checklist to help you maintain your washing machine effectively, ensuring both longevity and optimal performance.


And it all starts with the basics…

Part 1: Taking Care of the Basics

Keep It a Few Inches Away From the Wall

It’s important not to set your washing machine right up against the wall. In fact, you’re supposed to leave about 6 inches of space between the back of the appliance and the wall behind it.

Importance: Adequate airflow is essential for preventing overheating and optimizing the machine’s performance.

Consequences of neglect: Placing the washer too close to the wall restricts airflow, leading to increased heat buildup and potential damage to the internal components.

How to safely maintain: Position your washing machine at least 6 inches away from the wall to allow for proper ventilation.

Keep These Parts Clean

It’s time to break out those cleaning clothes and your mild detergent! Here are the best places to start when it comes to washing-machine maintenance:

1. Water Dispenser

The water dispenser is the compartment in the washing machine that holds the detergent and fabric softener. It’s typically located at the top of the machine, near the door.

Importance: Regular cleaning of the water dispenser prevents the accumulation of detergent residue, mold, and bacteria.

Consequences of neglect: A dirty water dispenser can result in unpleasant odors, reduced cleaning efficiency, and potential health hazards.

How to safely maintain: Remove the dispenser tray and clean it thoroughly with warm water and mild detergent. Ensure that it’s completely dry before reinserting.

2. Filter

The washing machine filter, also known as the drain pump filter, is a small, cylindrical filter located at the bottom of the washing machine. The filter’s job is to catch lint, hair, and other debris that can build up in the washing machine’s drain hose.

Importance: Cleaning the filter prevents debris, lint, and foreign objects from clogging the drain pump and obstructing water flow.

Consequences of neglect: A clogged filter can cause drainage issues, improper functioning, and potential damage to the machine’s internal components.

How to safely maintain: Refer to your machine’s user manual to locate the filter. You can use a brush or your fingers to remove any debris that is caught in the filter. Be sure to rinse the filter thoroughly with water before reinstalling it.

3. Door Seal

The door seal is a rubber gasket that creates a watertight seal between the door and the drum. This prevents water from leaking out of the machine during the wash cycle.

Importance: Cleaning the door seal prevents the accumulation of dirt, detergent residue, and mold growth.

Consequences of neglect: A dirty door seal can lead to water leakage, unpleasant odors, and compromised cleaning performance.

How to safely maintain: Wipe the door seal with a damp cloth and mild detergent. Ensure thorough drying to prevent moisture buildup before running your next load of laundry.

4. Keep the Door Open

This one is pretty simple! When you’re not using it, leave the door open and allow it to dry out between loads.

Importance: Leaving the door open between washes allows air circulation, preventing the growth of mold and eliminating odors.

Consequences of neglect: A closed and damp environment promotes the growth of mold and bacteria, resulting in foul smells and potential damage to the machine.

How to safely maintain: After completing a wash cycle, keep the door slightly ajar to promote airflow and prevent the formation of unpleasant odors.

Inspect The Unit For Any Obvious Issues

If you’re experiencing a problem with your Viking range, the first thing to do is to make a visual inspection of the unit, and all of its components, to see if you can easily spot the problem.

The most obvious issue that homeowners experience is that their Viking cooktop isn’t getting any power. So before you start dialing our number, make sure that your unit is, in fact, plugged in securely and that there are no tripped breakers or blown fuses in your home’s main panel.

If you’ve ruled out any issues with your Viking range’s power source, continue inspecting the unit for anything that might be broken or worn out. If you’re able to pinpoint the source of your problem, in some cases, you may be able to replace the faulty component by yourself.

Additionally, some Viking cooking appliances won’t function properly if they’re not completely level. This could potentially cause the unit to overheat and malfunction.

So before moving on to check for more serious issues, ensure that your Viking range is completely level to the ground.

Clean Your Viking Range

Cleaning Viking Range

The source of many issues with Viking ranges and cooktops is that they’re simply not cleaned properly. Oftentimes, oil droplets and food particles might accumulate on the range, causing the insides to get gummed up stop functioning.

One of the most common problems with Viking ranges is that the igniter won’t stop clicking. Again, this is often caused by a buildup of food particles and other types of debris. And in many cases, a simple cleaning can save you a headache, as well as the cost of calling in a professional repairman.

So before you pick up the phone and call us out to inspect your Viking range, make sure that you’ve taken the time to thoroughly clean the unit and remove any built-up food debris from its components.

Gas Burners Won’t Ignite

Viking Gas Burners

Again, this common issue is often caused by a dirty gas jet or a clogged burner. So in other words, the simplest solution is to clean the burners to ensure that there is an adequate gas flow when the range is turned on.

If this still doesn’t solve your problem, we recommend that you check to make sure that the igniter is indeed sparking. If the burner’s gas jets are working, and the igniter is clean with a visible spark, the issue might be caused by a faulty control knob.

While you might be able to replace this component on your own, if you’re unsure of how to go about doing it, then don’t hesitate to give us a call.

Oven Isn’t Heating Properly

Viking Range Repair Denver

If your Viking range has a built-in oven that isn’t heating properly and won’t reach the desired temperature, first, make sure that the oven is getting an adequate gas flow and that there is a spark coming from the igniter.

Again, the most common cause of poor gas flow, or an igniter that isn’t working properly, is a buildup of dirt and debris. So make sure that the gas jets and igniter are clean before calling us for help.

Then, once you’ve ruled out dirt, the next most common cause of an oven that isn’t heating properly is a broken or faulty temperature sensor. To check this, make sure that the temperature sensor isn’t touching the insides of your oven.

Then, you can use a multimeter to check that it is working.

For this, simply touch both prongs of the multimeter to the sensor, and turn the oven on. You should immediately see a rise in voltage as the oven heats up. If not, the sensor is likely faulty and needs to be replaced.

Burners And Oven Aren’t Working

If both your Viking range burners and your gas oven aren’t working, the problem is likely being caused by a blocked or faulty gas line.

So if this is the case, it’s important to shut off the gas immediately and contact a professional appliance repairman.

Need Professional Appliance Repair Help?

Viking ranges are some of the highest-quality cooking appliances on the market.

However, despite their good reputation and high-quality construction, they’re still prone to a range of common issues.

In many cases, inspecting your Viking range will allow you to locate the source of your problem.

And if you’re able to do this, you’ll either be able to replace or fix the problem on your own. Or, you’ll make our job easier by being able to tell us exactly what’s wrong with your Viking range.

Either way, if you’re having trouble with your Viking range and need help figuring it out, don’t hesitate to contact us today. We’re here to help!

Contact Us

We are ready to handle any problem you have with your Viking range.